Desert Temple
Desert Temple is the first dungeon in the game, recognisable by its endless sandstone halls, with braziers lining walls and the occasional staircase. The only entities that populate the dungeon are Sand Peasants and the Sand Giant that awaits players at the end — a gigantic boss enemy resembling a Sand Peasant, which is met once every other room is cleared.
The layout of Desert Temple is randomly generated every run, and therefore has no layout or optimal route to memorise.
Rewards
Gold yield
| Difficulty | Gold | Gold with multiplier |
|---|---|---|
| Easy | 1,189 | 2,378 |
| Medium | 2,333 | 4,667 |
| Hard | 4,976 | 9,952 |
| Insane | 9,861 | 19,722 |
| Nightmare | 19,633 | 39,267 |
XP earnings
| Difficulty | Enemies | Bosses | Total |
|---|---|---|---|
| Easy | 4 | 273 | 457 |
| Medium | 6 | 345 | 951 |
| Hard | 13 | 391 | 2,047 |
| Insane | 20 | 460 | 3,200 |
| Nightmare | 39 | 529 | 6,418 |
Mobs
Sand Peasant
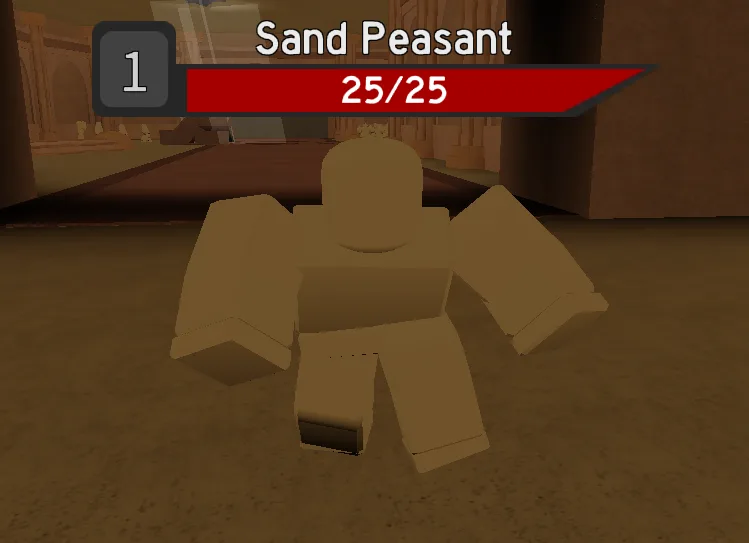
The Sand Peasant is the only kind of mob that spawns in Desert Temple. It has a short-ranged attack, which this wiki calls melee.
Bosses
Sand Giant
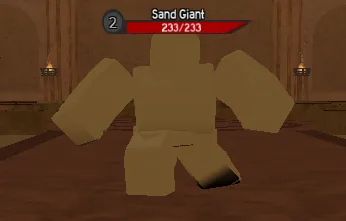
The Sand Giant is the boss of Desert Temple, fought after every other room is cleared. It is a much larger Sand Peasant.
Rooms
| Room | Wave | Enemies |
|---|---|---|
| 1 | Straight corridor with fallen pillars and debris | Sand Peasant |
| 2 | Straight centre with areas branching left and right | Sand Peasant |
| 3 | Maze or thin-wall room | Sand Peasant |
| 4 | Branching room with obstacles | Sand Peasant |
| 5 | Fork or intersection, one route gets blocked | Sand Peasant |
| 6 | Branching room with statue, pillar and debris | Sand Peasant |
Loot
Abilities
| Name | Drops on | Rarity | Level requirement | Sell price |
|---|---|---|---|---|
 Whirlwind | Easy, Medium, Hard, Insane | Common | 1 | 1,700 gold |
 Battle Shout | Nightmare | Common | 1,500 gold |
| Name | Drops on | Rarity | Level requirement | Sell price |
|---|---|---|---|---|
 Arcane Spray | Hard, Insane | Common | 1 | 2,000 gold |
 Blue Fireball | Easy, Medium, Hard | Common | 1 | 500 gold |
 Fireball | Easy | Common | 1 | 200 gold |
 Innervate | Nightmare | Common | 1 | 2,000 gold |
 Lightning Strikes | Insane, Nightmare | Common | 1 | 2,500 gold |
 Poison Cloud | Hard, Insane, Nightmare | Common | 1 | 4,000 gold |
| Name | Drops on | Rarity | Level requirement | Sell price |
|---|---|---|---|---|
 Holy Barrier | Hard, Insane | Common | 1 | 1,520 gold |
 Holy Circle | Hard | Common | 1 | |
 Redemption | Medium, Hard | Common | 1 | 750 gold |
 Taunt | Easy | Common | 1 |
Weapon
| Name | Drops on | Level requirement |
|---|---|---|
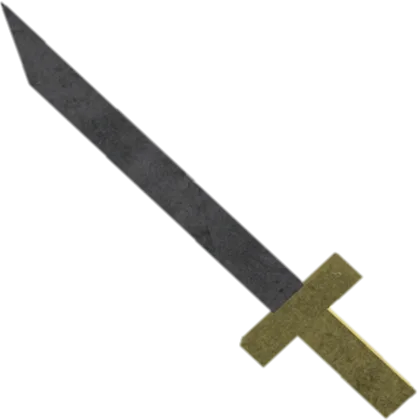 Bronze Dagger | Easy | 1 |
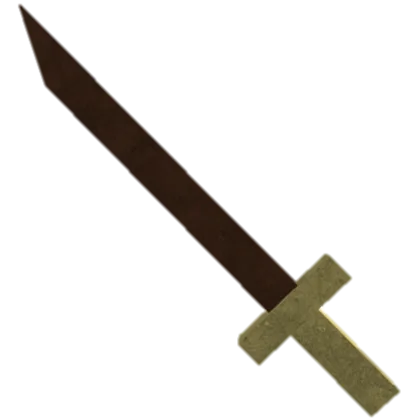 Bronze Longsword | Easy, Medium | 1 |
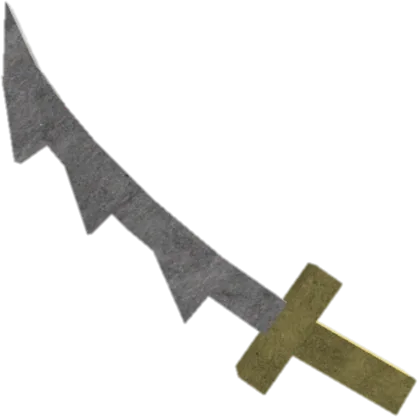 Spiked Club | Easy, Medium | 1 |
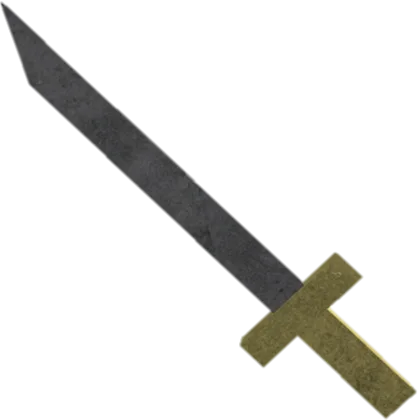 Iron Longsword | Medium, Hard | 6 |
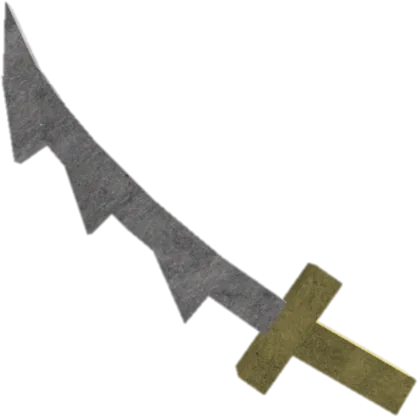 Steel Serrated Sword | Medium, Hard | 6 |
 Enchanted Sword | Hard, Insane | 12 |
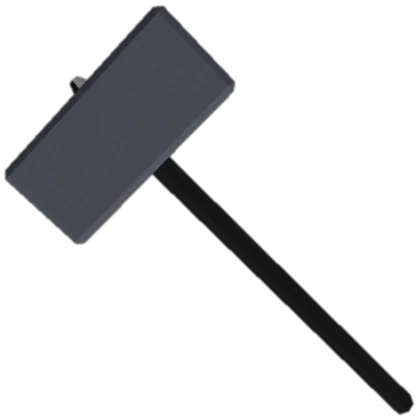 Granite Maul | Hard, Insane | 12 |
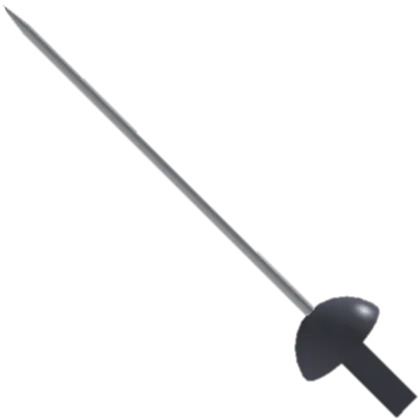 Rogue’s Rapier | Hard, Insane | 12 |
 Ghoul Slayer | Insane, Nightmare | 20 |
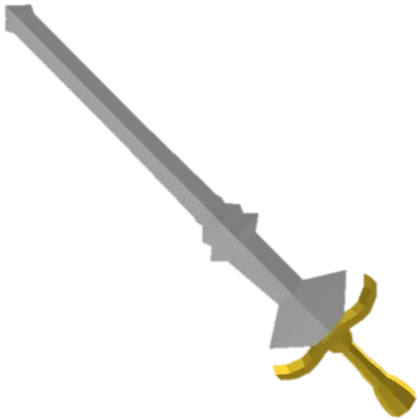 Grand Claymore | Insane, Nightmare | 20 |
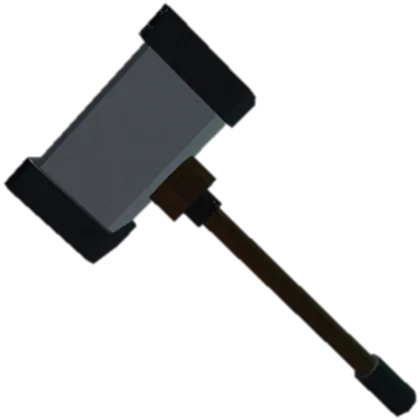 Pulverizer | Insane, Nightmare | 20 |
 Desert Fury | Nightmare | 27 |
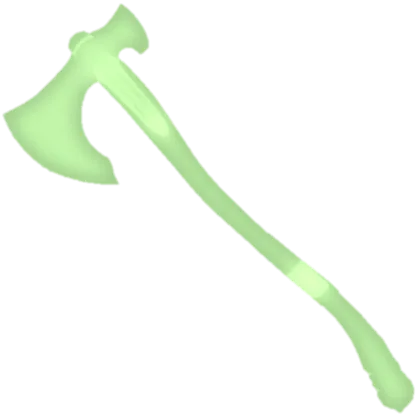 Ghostly Greataxe | Nightmare | 27 |
| Name | Drops on | Level requirement |
|---|---|---|
 Novice Wand | Easy, Medium | 1 |
 Apprentice Staff | Medium, Hard | 6 |
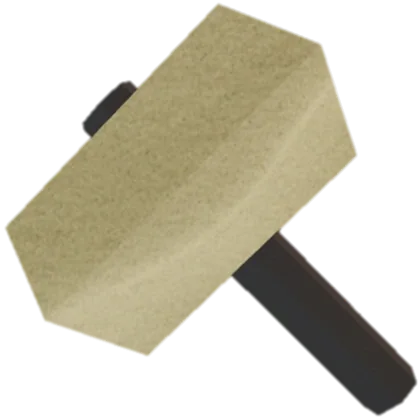 Magic Mallet | Medium, Hard | 6 |
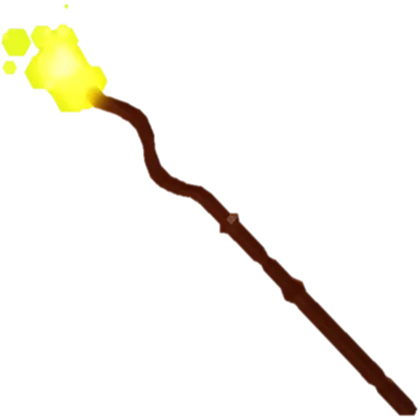 Flame Staff | Hard, Insane | 12 |
 Mage’s Spellbook | Hard, Insane | 12 |
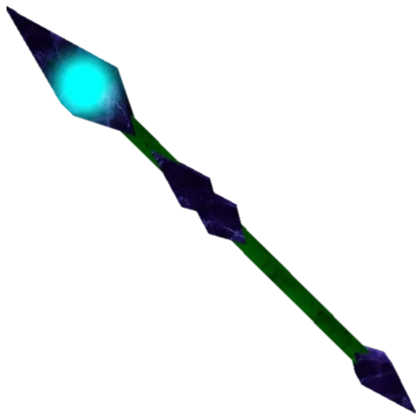 Onyx Staff | Insane, Nightmare | 20 |
| Desert Fury | Nightmare | 27 |
 Holy Staff | Nightmare | 27 |
Armor
| Name | Drops on | Level requirement |
|---|---|---|
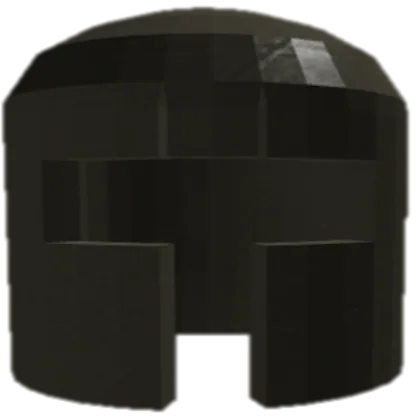 Novice Set | Easy, Medium | 1 |
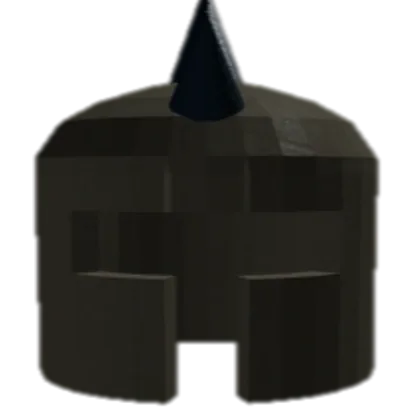 Mercenary Set | Hard, Insane | 5 |
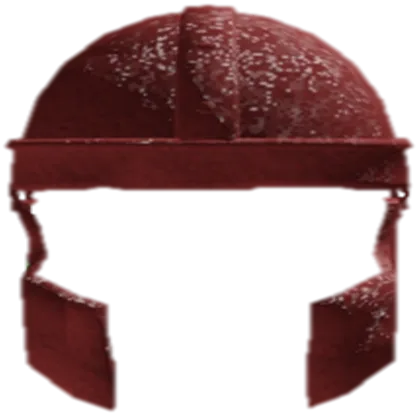 Red Knight Set | Insane, Nightmare | 15 |
| Name | Drops on | Level requirement |
|---|---|---|
 Blue Wizard Set | Easy, Medium | 1 |
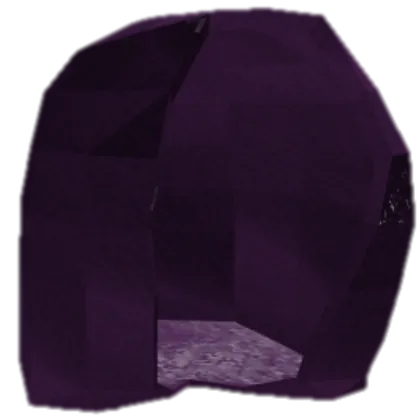 Elementalist Set | Hard, Insane | 5 |
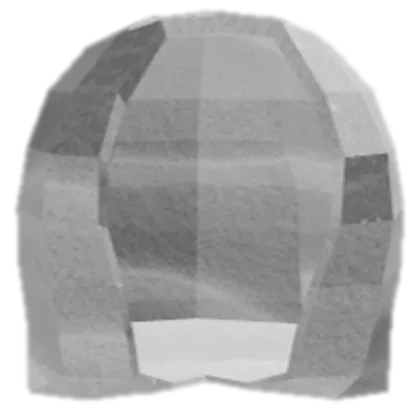 Templar Set | Insane, Nightmare | 15 |
| Name | Drops on | Level requirement |
|---|---|---|
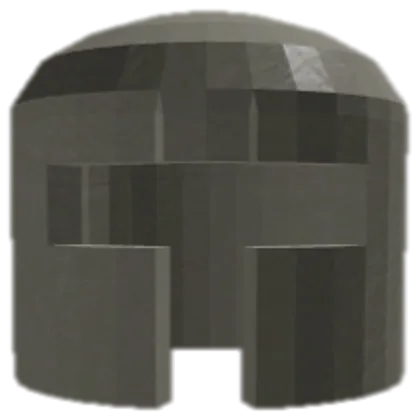 Iron Armour Set | Easy, Medium | 1 |
 Crusader Armour Set | Hard, Insane | 5 |
 Guardian Set | Insane, Nightmare | 15 |
Wave defence
Wave Defence is available here. One item is received after every 15 waves, and the Extra item game pass adds one more on top of that.
Desert Temple has no mini-boss. The Sand Giant itself spawns every 5 waves.
Playing through Wave Defence unlocks cosmetic Defender titles, which can be earned on any map in the mode. The rarity rises with the number of waves completed: Desert Defender at wave 30, Elite Desert Defender at wave 45, Ultimate Desert Defender at wave 100, and Godly Desert Defender at wave 300.
Trivia
Because the layout is rebuilt every run, the Rooms table lists the six shapes the dungeon is assembled from rather than one fixed sequence of rooms. A straight corridor with fallen pillars and debris; a straight centre with areas branching left and right; a maze or thin-wall room; a branching room with obstacles; a fork where one route gets blocked; and a branching room with a statue, pillar and debris. Any single map of Desert Temple is one possible run, not the layout.
Each of those shapes holds a fixed number of Sand Peasants in a fixed number of spawn groups, and what spawns varies from dungeon to dungeon by difficulty.
Players must clear a run of randomised rooms full of mobs in order to reach and defeat the Sand Giant, which is what separates the boss from the rooms that lead up to it.